
Here’s how to have a customer enter their info into a form on your website and automatically generate a new Inquiry within Printavo.
This makes it very simple to have potential clients inquire about custom orders & automatically be notified through Printavo and your email account.
Laura walks you through the process below:
Step-By-Step: How To Connect Typeform To Printavo Using Zapier
Step 1: Get the right tools for the job
You’ll need the following:
Step 2: Create your form with the right contents
You’ll need the following fields in your Typeform form to correctly populate your Printavo Inquiry with actionable information:
- Date
- Name
- Phone
- Description

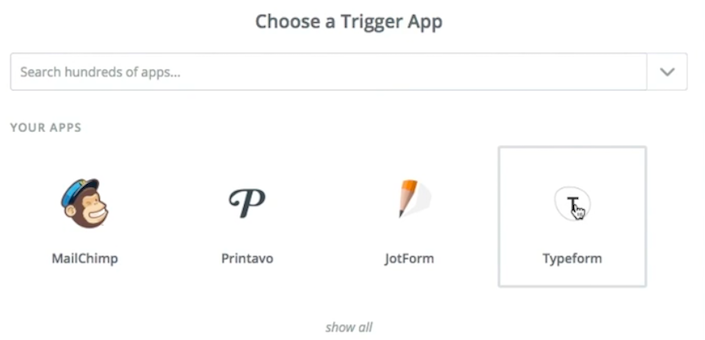
Step 3: Select Typeform as your Zapier trigger app
Head to Zapier after you’ve got everything set up and create a new Zap.
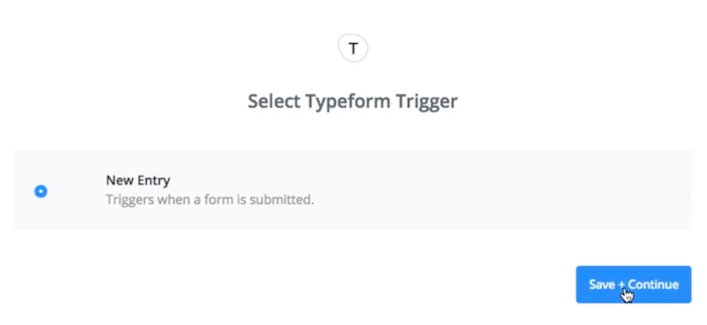
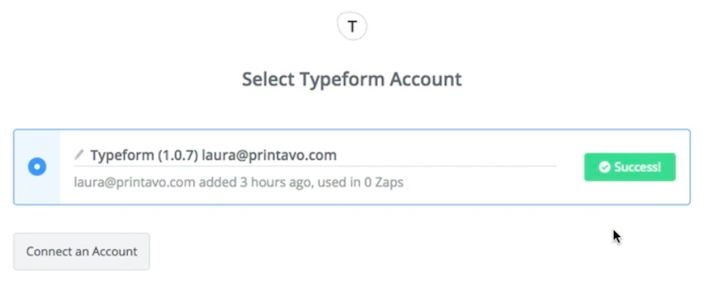
Step 4: Select “New Entry” as your Typeform trigger action & choose the correct Typeform account
When a potential client fills out your form, it will trigger the Zapier automation.
Be sure to choose the right Typeform account:
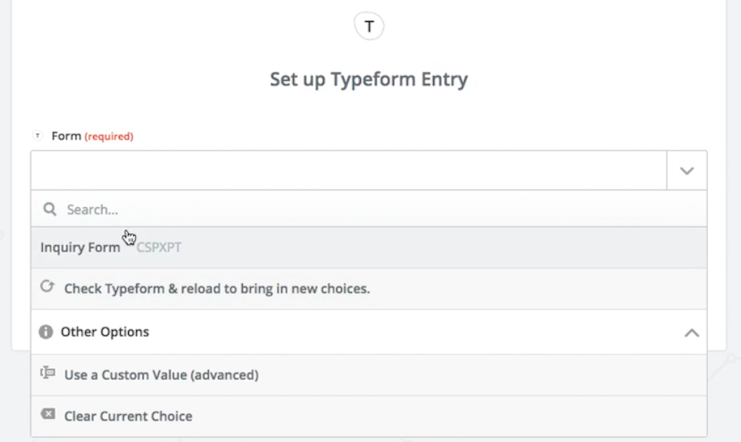
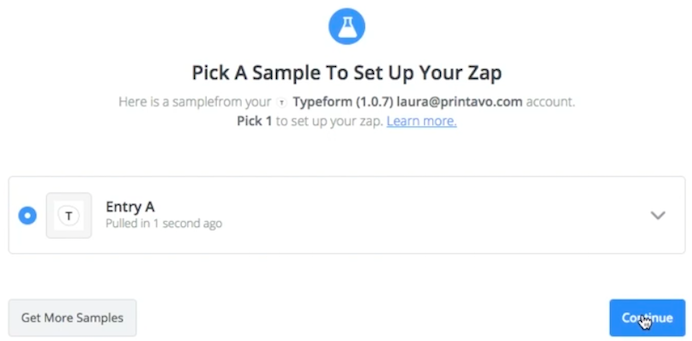
Step 5: Select the correct form that you’re using on your website
Laura only has one form in this example. You might have more!
Step 6: Create a test inquiry form to ensure everything works correctly
Fill out a dummy response on your form. This lets you test whether you’re pulling the correct data & test your automated inquiry’s fields.
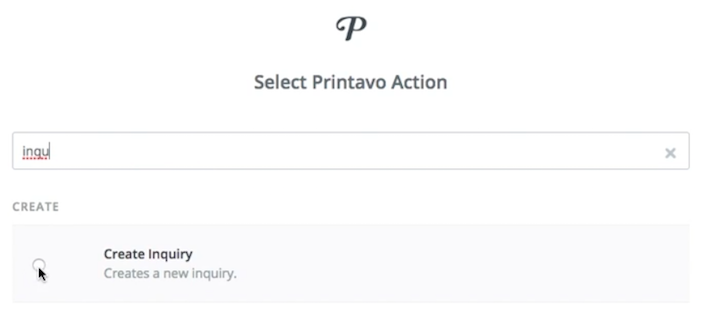
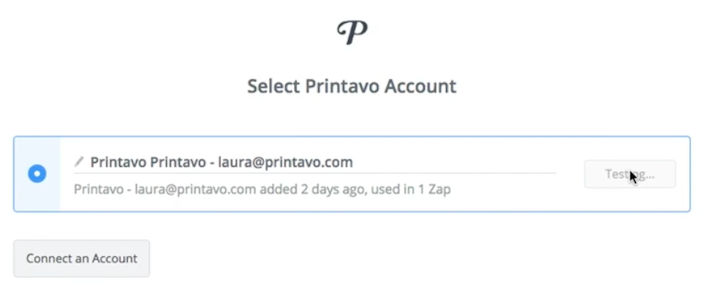
Step 7: Make Printavo your action app & pick the correct Printavo account
Make Printavo the recipient of your Typeform data. This tells Printavo to make a new Inquiry with the Typeform data!
Pick the right Printavo account to send data to:
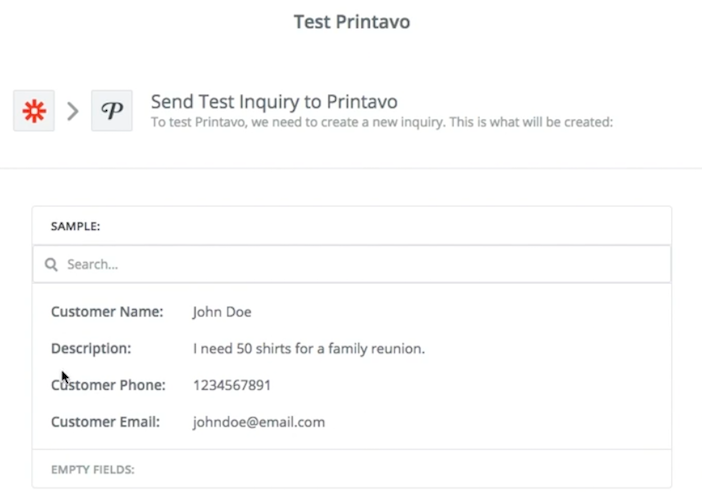
Step 8: Make sure your Typeform test inquiry form is equal to Printavo’s Inquiry form
Match the correct Typeform information to the correct Printavo fields! You can see Laura’s sample info applied correctly below:

Step 9: Send your test form data to Printavo
You can see how the form data will appear.
Once it’s into Printavo, it will appear like this within your Inquiries menu:

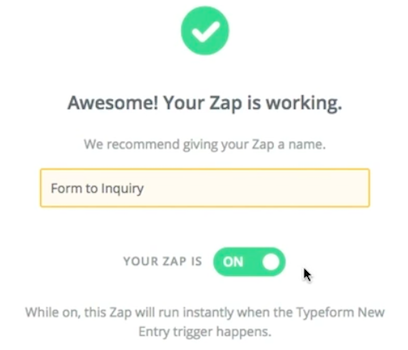
Step 10: Set your Zap to Live & enjoy automated inquiry bliss!
We love to hear about how print shops harness automation in their workflow. We love automation, you should too! Drop us a line if you’ve got a cool tip for us about automation.
0 Comments