
From Anthony, Customer Care Specialist at Printavo:
You can connect Printavo Quote/Invoices to a Google Sheet automatically with Zapier. This makes it easy to log specific details about jobs and store the information outside of Printavo.
It takes 8 steps, and just a few minutes, to have Printavo link up with Google Sheets.
Watch the tutorial:
Before you begin, you’ll need the following things to complete this automation:
- Premium Printavo subscription
- Zapier account
- Google Sheet you want to populate with Quote/Invoice data
Let’s get started.
How To Connect Printavo To Google Sheets
Step 1: Log in to Zapier and create a new Zap.
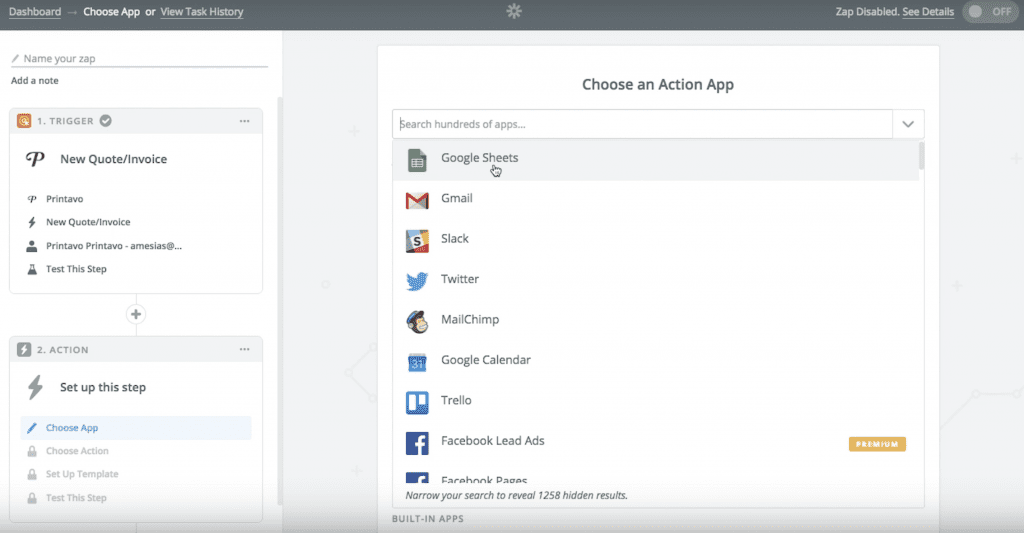
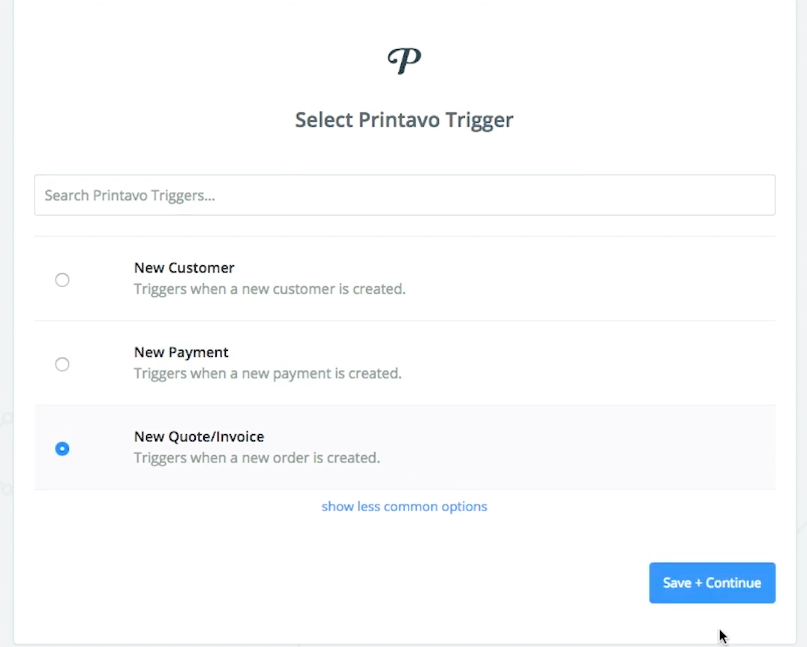
Step 2: Set your Trigger App to be Printavo. Your specific Trigger from Printavo will be “New Quote/Invoice.”
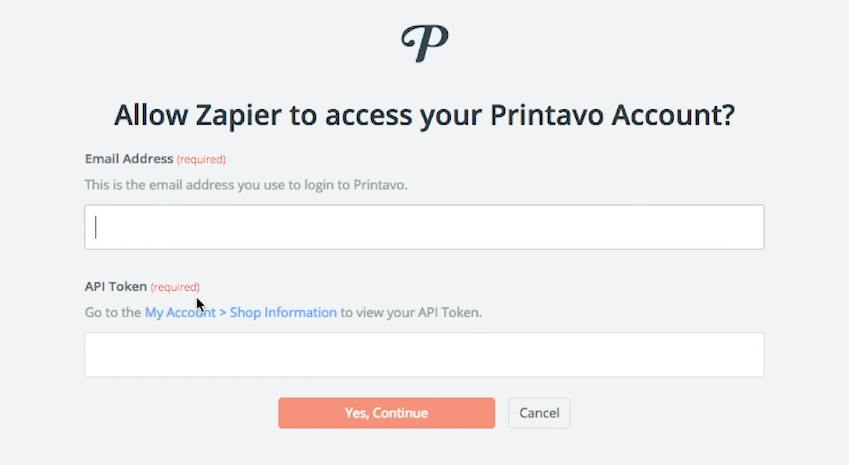
Step 3: Connect your Printavo account. Use the email that’s linked to your Printavo account, and your specific Printavo API Token available here. Then select your Printavo account.
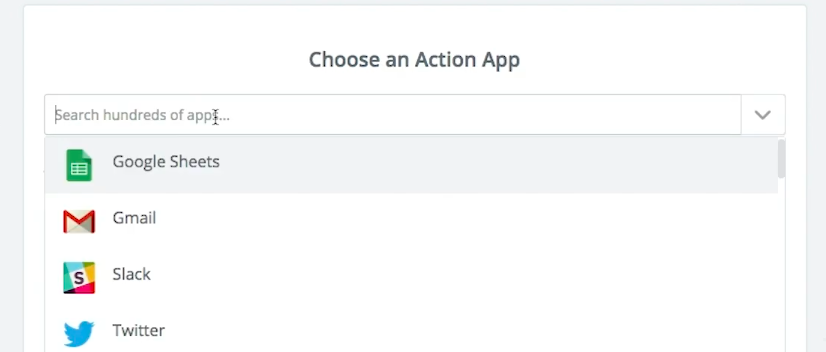
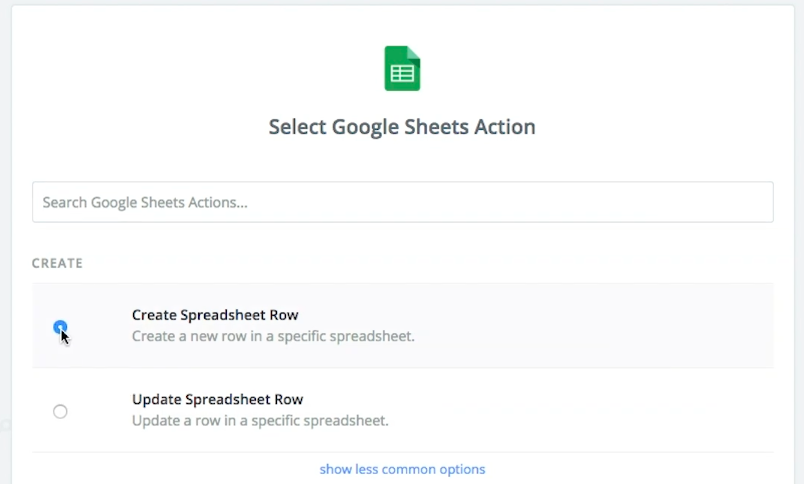
Step 4: Set your Action App as Google Sheets.
For your specific action, choose Create Spreadsheet Row. Ensure you’re signed in to the correct Google account!
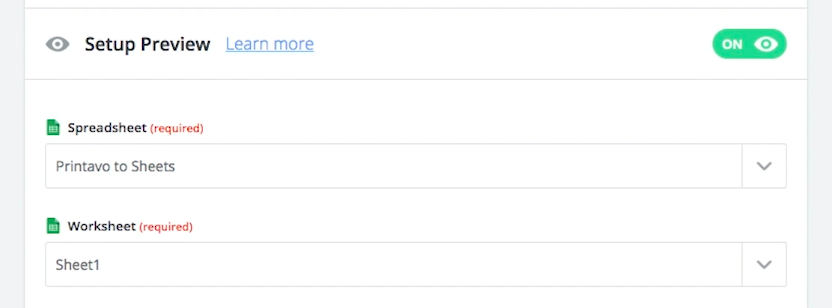
Step 5: Choose the target Google Sheet you want to send your data to. You’ll also need to select the specific Worksheet tab you’re targeting.
Helpful tip: label the columns in your target Google Sheet with the data you’re going to send before you turn on your Zap!
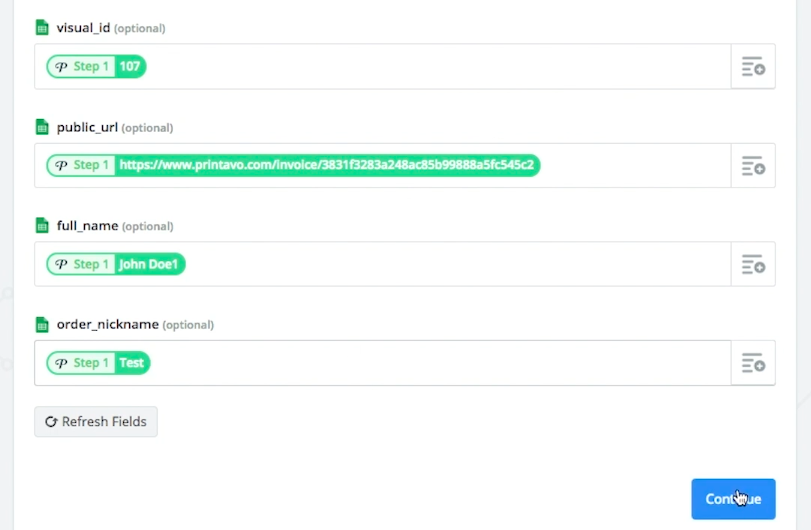
Step 6: Decide which information from the Printavo Quote/Invoice will be sent to the Google Sheet.
I’ve chosen very simple information. You should select information from the Quotes & Invoices that will help you the most.
Helpful tip: “visual_id” is the Printavo Quote/Invoice number.
Step 7: Test it! Make sure the right information is sent exactly where you want it to go.

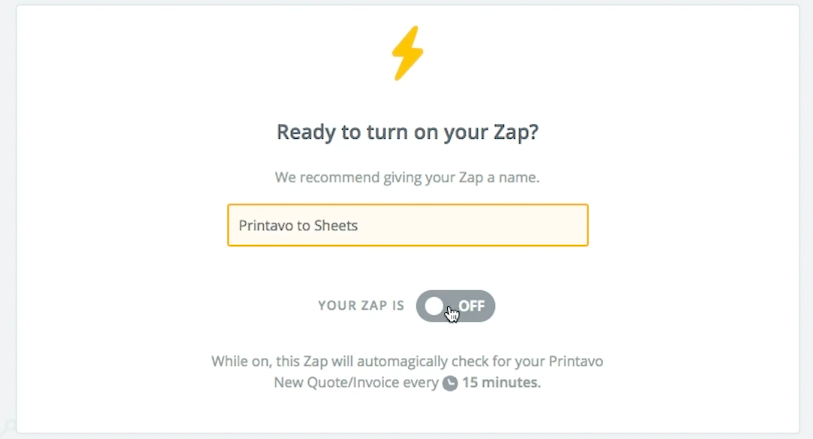
Step 8: Turn on your Zap & enjoy the automated spreadsheet magic courtesy of Zapier.
That’s it!
What Do You Automate?
Zapier is all about creativity: it’s up to you find the perfect automation solution for your shop’s setup!
Got a big idea for what to send to Google Sheets?
Maybe you’ve got a cool tip you’d like to share with us?
Sound off in the comments below or drop us a line!