
Make your screen printing designs pop with this tutorial on distressed textures.
All you’ll need to start are:
- A phone camera
- Adobe Illustrator
- Adobe Photoshop
Distressed filters make basic screen printing designs unique, fun and vintage-feeling. It’s easy to do, and your customers will love the results.
Here’s what we’re doing: we’re simply making a Mask in Adobe Illustrator.
How to create textures
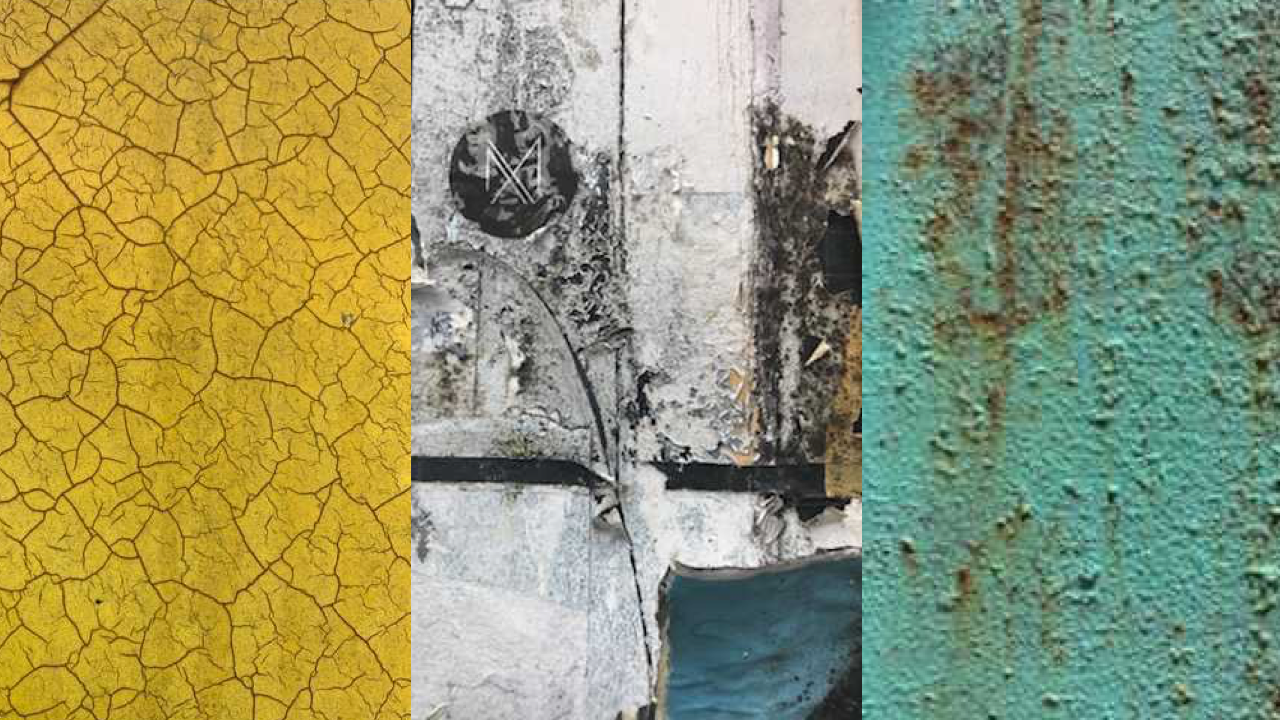
To create custom textures, simply head out into the world and look around you. Take pictures of textures that you see.
Some of the most compelling textures can come from everyday objects like:
- Streets (i.e. cement, road designs, etc.)
- Wood
- Brick
- Anything weathered
- Paint
- Natural surfaces
- Clouds
- And so on…
Don’t feel constrained by photographs you’ve taken, either. You could experiment with all kinds of textures to achieve the look and feel you want.
Prep the image in Photoshop
To prepare your textures, we need to do some small prep work in Photoshop. This only takes a second and it ensures the texture will look and print the way you want.
Here are the steps:
Convert the image to grayscale

In Photoshop, follow this click path: Image > Mode > Grayscale
To simplify things, we convert the image to black and white.
This makes it easier to print and ensures compatibility with all designs and colors.

You may be prompted to discard color information. This is okay, press “Discard” to accept.
Adjust contrast and brightness
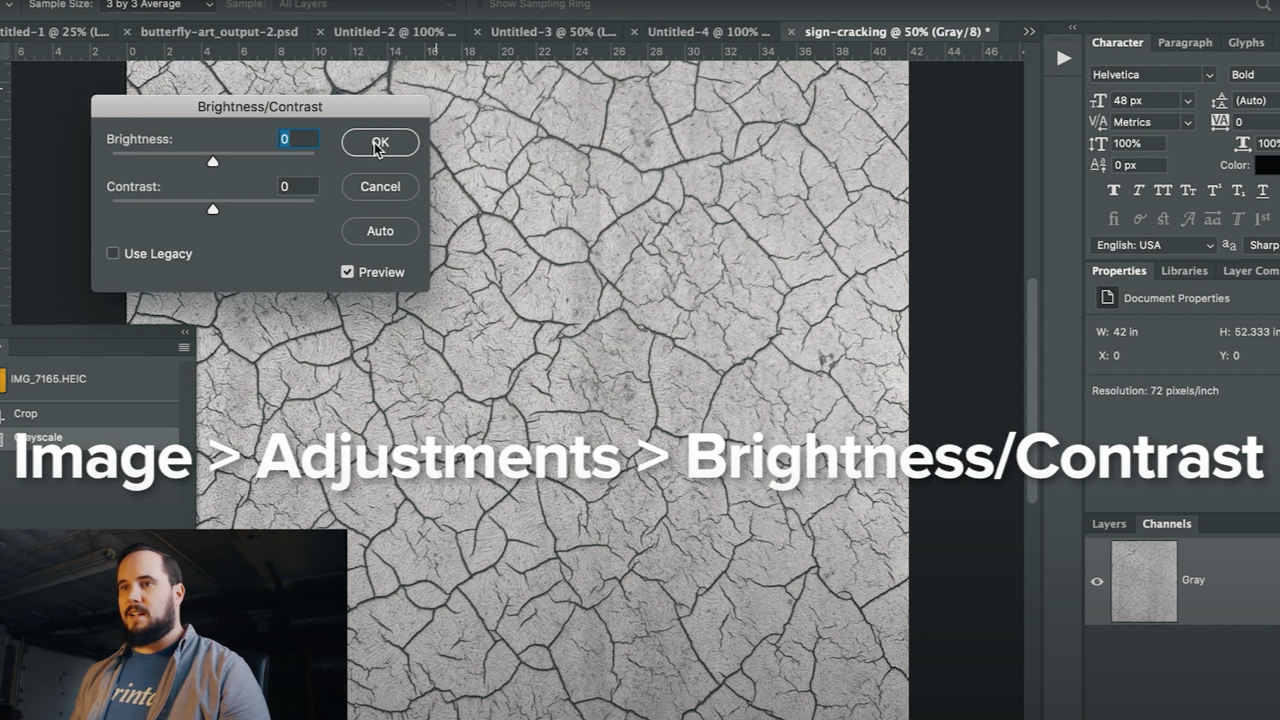
In Photoshop, follow this click path: Image > Adjustments > Brightness/Contrast
After you’ve made the image into a grayscale image, you want to bump up the contrast and brightness.
This helps make the texture more legible and exaggerates its features.
You don’t always have to do this step, depending on the results you want to achieve. Use your judgment!
Save as a TIFF
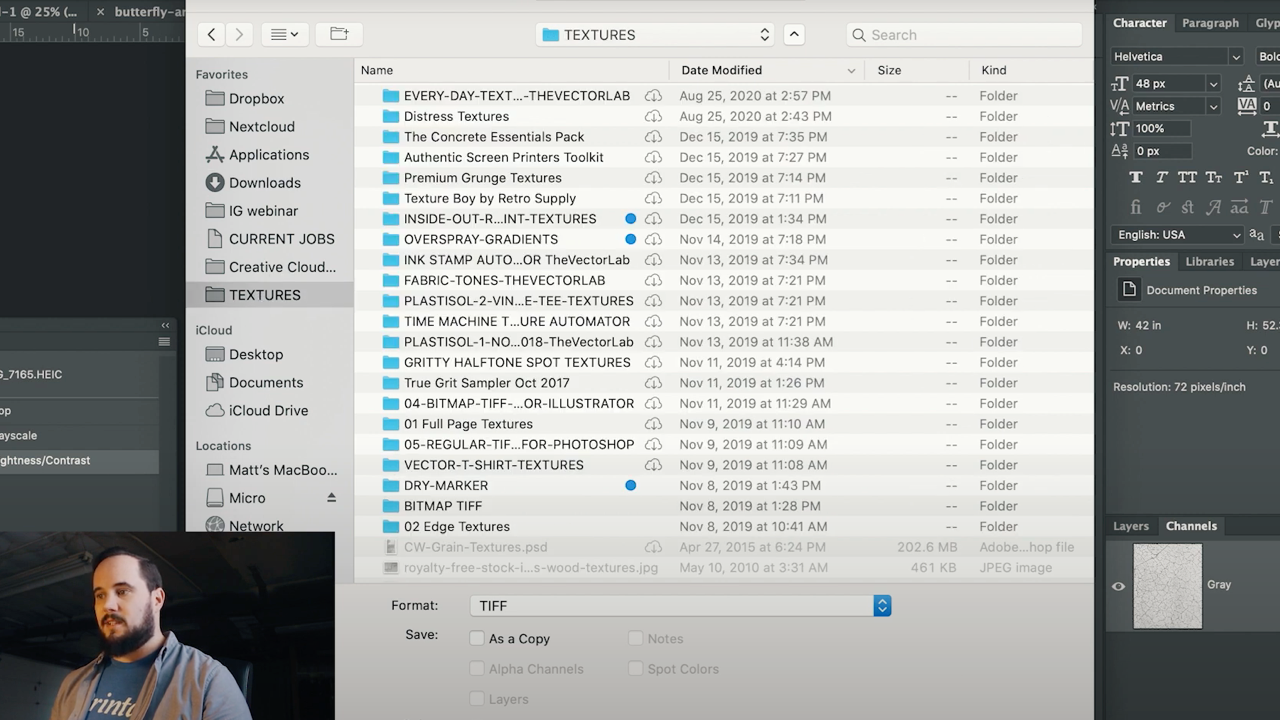
In Photoshop, save your file as a TIFF.
Be sure to use the option for “Uncompressed” to preserve image quality so you can resize your texture later without losing much quality.
Use Illustrator to combine design and texture
We’re almost done! The final steps only take a minute.
Place your TIFF file into Illustrator
Simply open the TIFF file you made with Photoshop in Illustrator.
We added it to a simple text-only design file that we’d already prepared.
Transparency > Make Mask
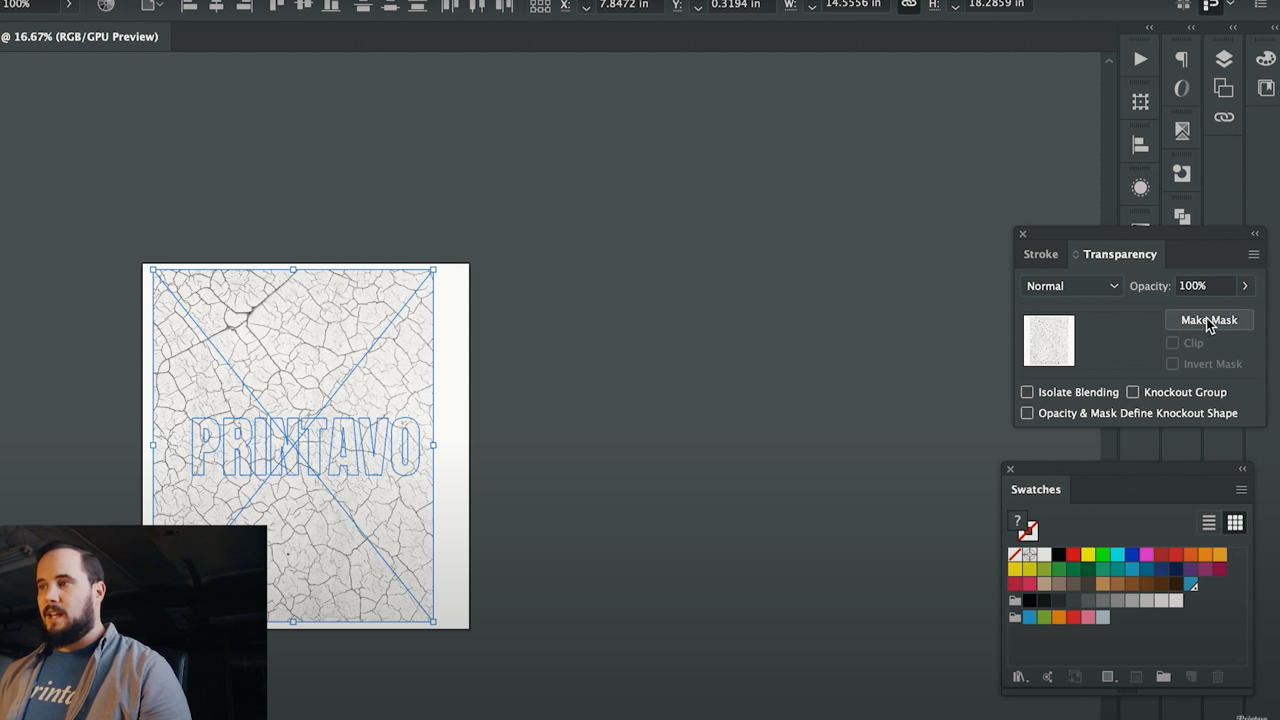
In Illustrator, open your Transparency window (Window > Transparency).
Then, click the “Make Mask” button with your design and texture selected.
From there, all that’s left are finishing touches.
You may want to try resizing your texture, or using the “Clip” and “Invert Mask” options for a different look.
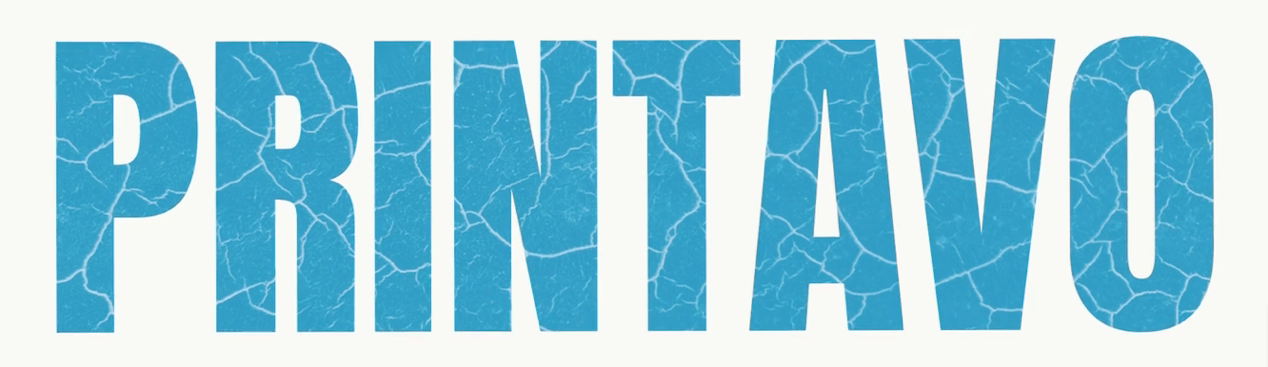
With just a couple of minutes of work, a simple text design goes from boring to interesting. Here’s the result:
What textures do you like to use for screen printed designs?
Drop a comment & share your ideas!

0 Comments