
How should you reclaim screens for screen printing? The key is developing a process that is documented and repeatable. Bill Hood shares the template he uses at print shops to dial-in their reclaim process.
Remember: good screen prints start with good screens. It’s called screen printing, after all!
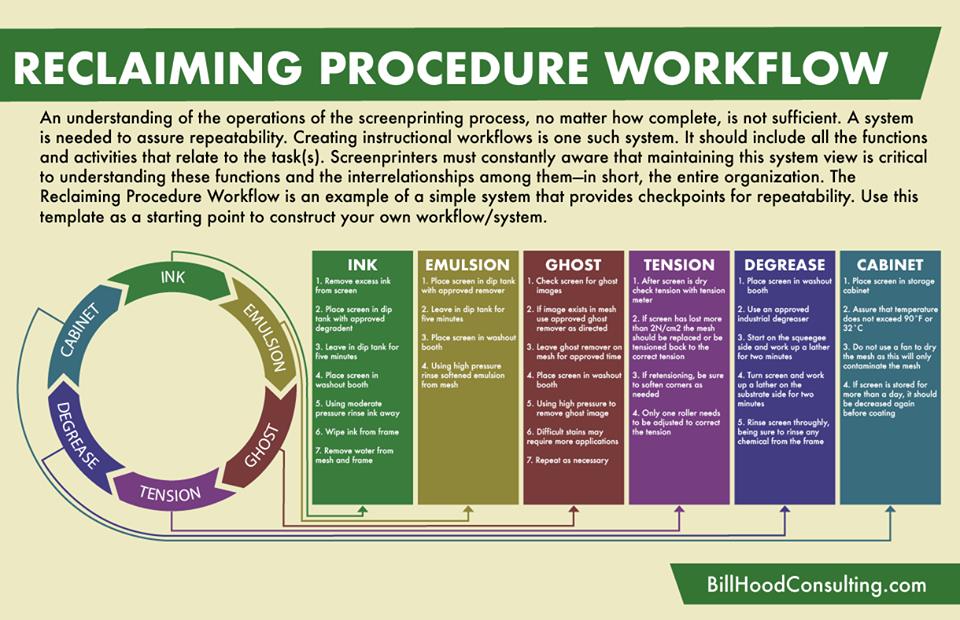
Screen Reclaiming Procedures & Workflow
An understanding of the operations of the screen printing process – no matter how complete – is not sufficient!
A system is needed to assure repeatability.
Creating instructional workflows is one such system. It should include all of the functions and activities that relate to that task.
Screen printers must be aware that maintaining this systemic view is critical to understanding these functions and the interrelationships among them. In short, you must understand the entire organization!
This Screen Reclaiming Procedure Workflow is an example of a simple system that provides checkpoints for repeatability.
Use this as a template for constructing your own workflow!
The Basic Formula
Screen reclaiming works like a water wheel.
One part of the process leads to another in an infinitely repeating system. A consistent screen reclaiming procedure will ensure your press operators are never waiting on screens!
- Ink clean-up
- Emulsion removal
- Ghosting and staining
- Tension check
- Degreasing
- Cabinet storage
Ink clean-up
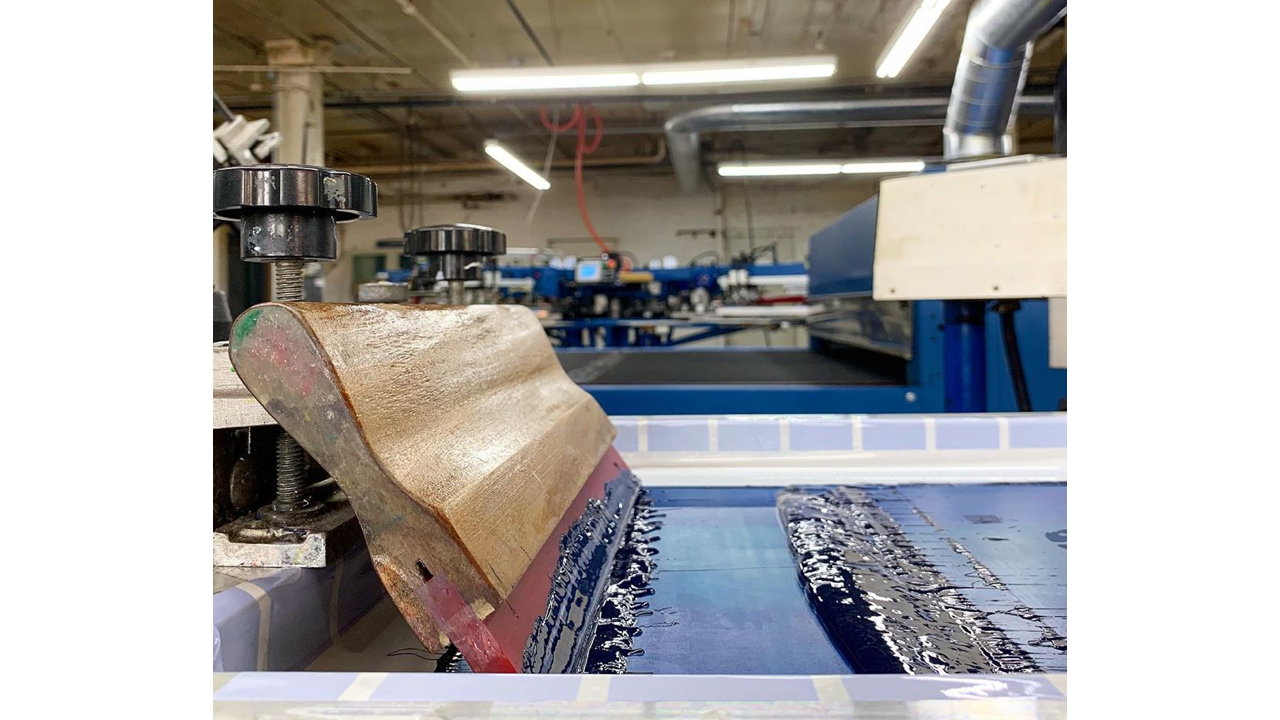
The screen reclaim process always begins by removing leftover ink from the screens.
- Remove excess ink from the screen.
- Place screen into a dip tank with an approved ink degrader.
- Leave in dip tank for approximately 5 minutes (follow manufacturer’s suggestions for specific times).
- Place screen in washout booth.
- Use moderate pressure to rinse ink away.
- Wipe ink from the frame.
- Remove all water from the mesh and the frame. (TIP: you can use a vacuum attachment to speed this process up)
Emulsion removal
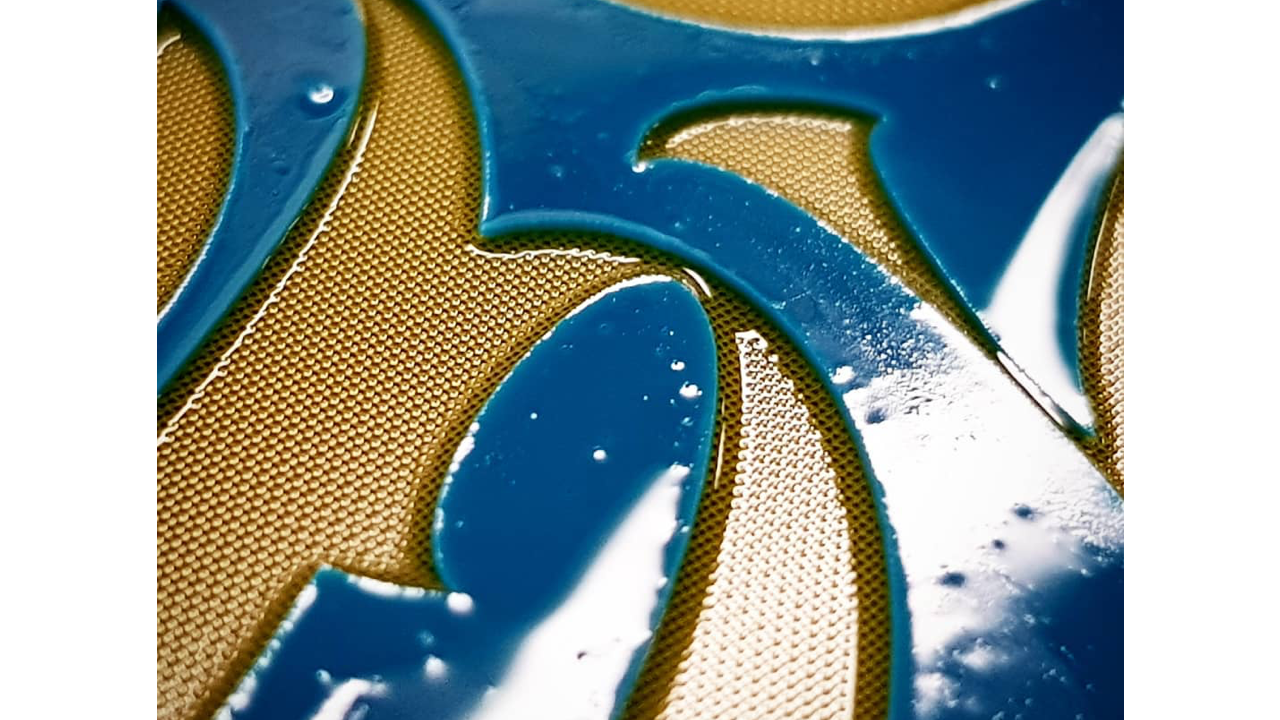
Removing old emulsion is essential. Complete removal of leftover emulsion ensures your screens last longer and your prints are higher quality.
- Place screens into a dip tank with an appropriate emulsion remover.
- Leave in dip tank for approximately 5 minutes (follow manufacturer’s suggestions for specific times).
- Place screen in washout booth.
- Use high pressure to rinse the softened emulsion completely out of the mesh.
Ghosting and staining

Ghosting can ruin screens, causing printing errors and spoilage. Having a step in the process to check for ghost images (and remove them) ensures that ghost images are not an unpleasant surprise that’s discovered on press – or worse, by your customer.
- Carefully check screens for ghost images.
- If a ghost image exists, use a manufacturer approved ghost remover as directed by the product’s instructions.
- Place screen in washout booth.
- Use high pressure to remove the ghost image.
- Apply more ghost remover if needed. Difficult stains may require multiple applications.
- Repeat if needed.
Tension check
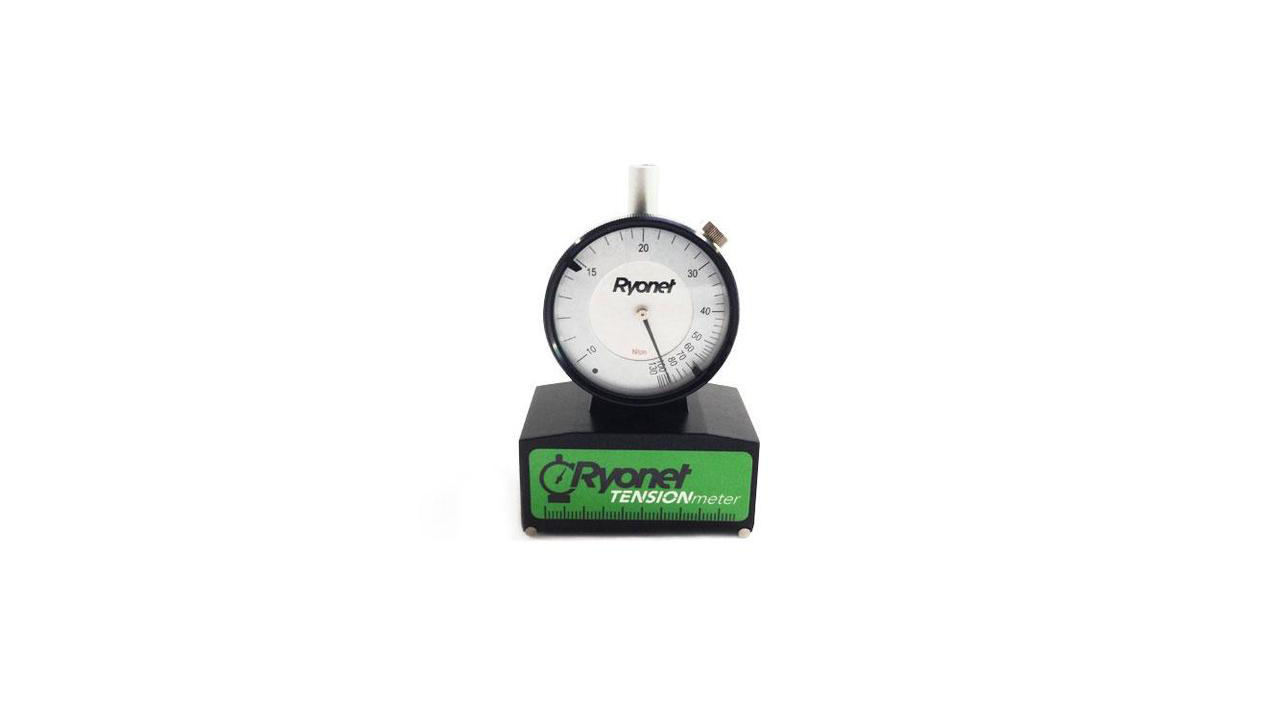
Screen tension is a variable that print shops must take control over.
Introducing this step into your reclaim process ensures that your shop’s screens always have consistent tension. This, in turn, leads to higher quality prints through more consistent ink application. This turns quality assurance into an ongoing part of your shop’s daily routine.
- Once dry, check the screen with a screen tension meter.
- If the screen has lost more than 2 Newtons per square centimeter (2N/cm²), the mesh should be replaced or re-tensioned to the correct tension.
- If re-tensioning, soften corners as necessary.
- For Newman roller frames, only one roller typically needs to be adjusted to correct tension problems.
Degreasing
Degreasing your screens improves their longevity and reduces the risk of chemicals damaging your mesh.
- Place screens into washout booth.
- Use an approved industrial degreaser.
- Apply the degreaser and work up a lather for approximately two minutes. Start on the squeegee side of the screen.
- Turn screen and lather the substrate side for approximately two minutes.
- Thoroughly rinse the screen. Ensure no chemicals remain in the screen.
Cabinet storage
How you store your screens is just as important as how you reclaim them. Screens need an uncontaminated environment with limited temperature changes. Isolate your reclaimed screens away from lint, dust, inks, and chemicals.
Many options exist for screen storage. The simplest may still be the best: a sealed wooden rack.
- Place screens into your storage cabinet.
- Ensure temperatures do not exceed 90 degrees F (32 degrees C) or fall below 32 degrees F (0 degrees C).
- Do not use a fan to dry your screens. This will contaminate them with dust. (TIP: try using a vacuum attachment to fully dry your screens and save you considerable time)
- When storing screens for more than 24 hours, it’s advisable to degrease them before coating with emulsion.
About the Author

Bill Hood has spent most of his life learning every aspect of screen printing technologies. As a business owner many times over, Bill has served as practitioner in segments across the screen printing field. Today he mentors and coaches high-achieving business owners and their staff. Bill is determined to create phenomenal success through efficiency and productivity. You can reach Bill on his website, Bill Hood Consulting.

0 Comments