
In screen printing, there are thousands of variables that impact the quality of your prints.
To make better screen prints, you have to understand which variables impact print quality and how you control those variables to your advantage.
We’ll break down the major variables you need to tackle to make the biggest impact. Control your print quality, get the results you want, and learn the science and art behind screen printing.
Let’s go!
Screen printing problems? Here’s how to fix them
Download our step-by-step, 16+ page guide guide to troubleshooting your screen prints.
It covers everything from film to emulsion to your actual print stroke, letting you eliminate problems one-by-one until you find the source of your print problems.
Note: make a copy of this document to use it for yourself.
Screens: the most important variable
Screens are the heart of screen printing. Controlling print quality starts with understanding screens and the huge array of print variables you can control in your shop just by mastering screens.
Before you try to make high-quality screen prints, examine the screens you use to print. Are your screens:
- Clean: free of chemical residue and debris
- Wooden or metal framed: metal is superior!
- Correctly tensioned
- A good variety of mesh counts
- Standard or thin mesh (t-mesh)
Screens are the most cost-effective upgrade screen printers can make to their setup. If you don’t have good screens, a good set is the first investment you should make in your shop.
Mesh counts
Do you know what mesh count you should use for screen printing?
Mesh count is the number of openings in the screen in one square inch. For instance, an “80 mesh count” screen has 80 openings on one square inch of its surface.
Mesh counts are one of the simplest ways to control your print quality. The higher mesh count you use, the more detail your prints can have. This is because as the mesh count increases, there is more mesh for your emulsion to adhere to. With more emulsion covering a smaller space, you can create finely detailed images.
The same principle works in reverse: lower mesh counts are great for less detailed images.
Mesh counts determine how much detail you can put on your print, what type of ink will work best, and even what garments will be best to print on.
Learn more about what mesh count to use for screen printing here.
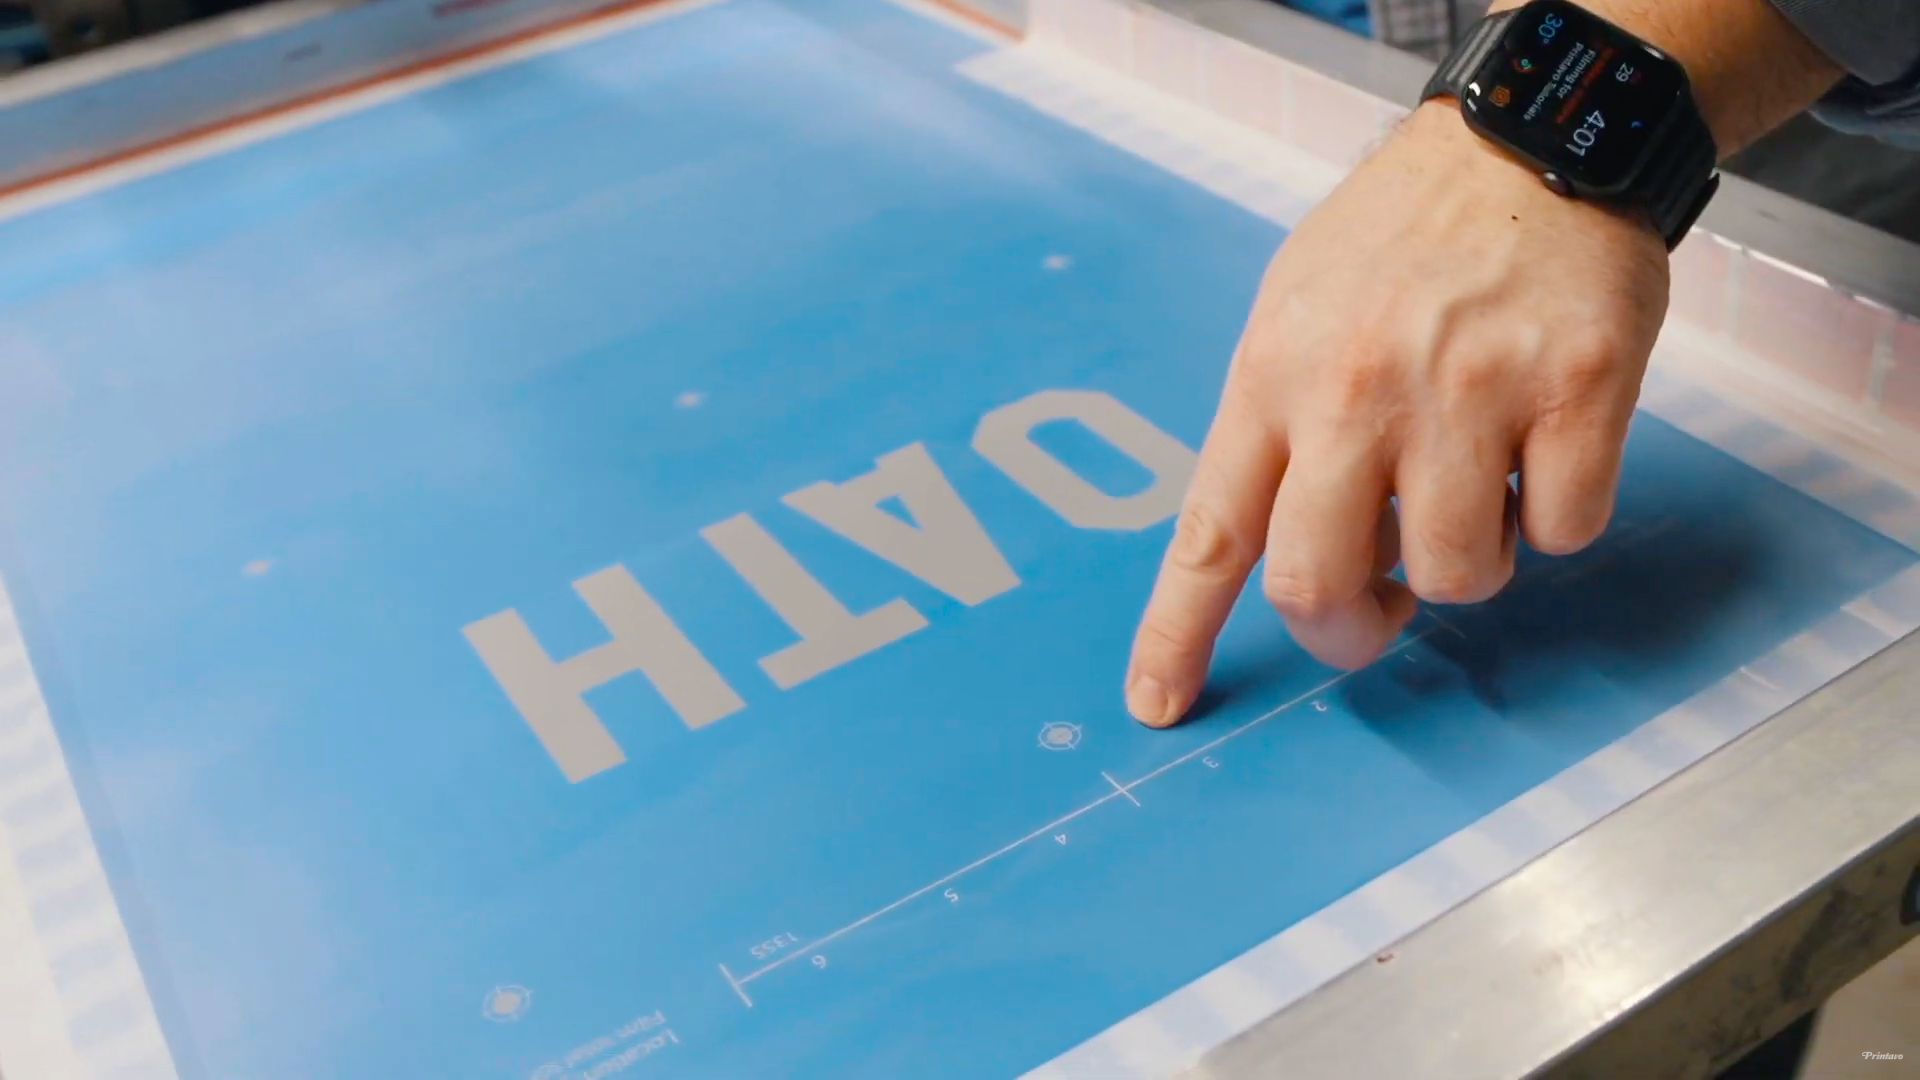
Screen tension
You should check screen tension every time you reclaim a screen.
A lot of shops don’t do this! They believe it’s too time consuming, or not a valuable activity. But what’s worse: spending a few seconds to check screen tension…or an hour of downtime as you troubleshoot a screen that has lost tension?
The exact tension your screens need varies according to which type of screen you use. Screen tension is measured in Newtons per square centimeter (N/cm2). Most screen printing suppliers advise tensions of 15 N/cm2 or greater. The manufacturer of your screens can suggest an ideal screen tension.
Screen tension meters seem expensive (they’re typically $350 or more). But if you buy one, it will last a lifetime. Your print quality will go up. Your downtime will go down.
Regularly measuring screen tension is an essential part of screen printing. You should quickly re-tension or replace screens that have lost tension.
Don’t believe us? Here are some of the print qualities that screen tension affects:
- Squeegee pressure
- Low tension requires more squeegee pressure
- Ink distribution
- Low and high tension tends to cause ink pockets and poor application
- Emulsion quality
- Low and high tension break down emulsion faster
- Registration
- Poor tension makes it harder to achieve and keep registration
- Image quality
- Poor tension can cause blurry and ugly prints
Emulsion
How you coat your screens is tremendously important, and so is the type of emulsion you use.
The thickness of your emulsion is called emulsion over mesh or “EOM” for short. This is a ratio of the thickness of the emulsion to the thickness of the screen.
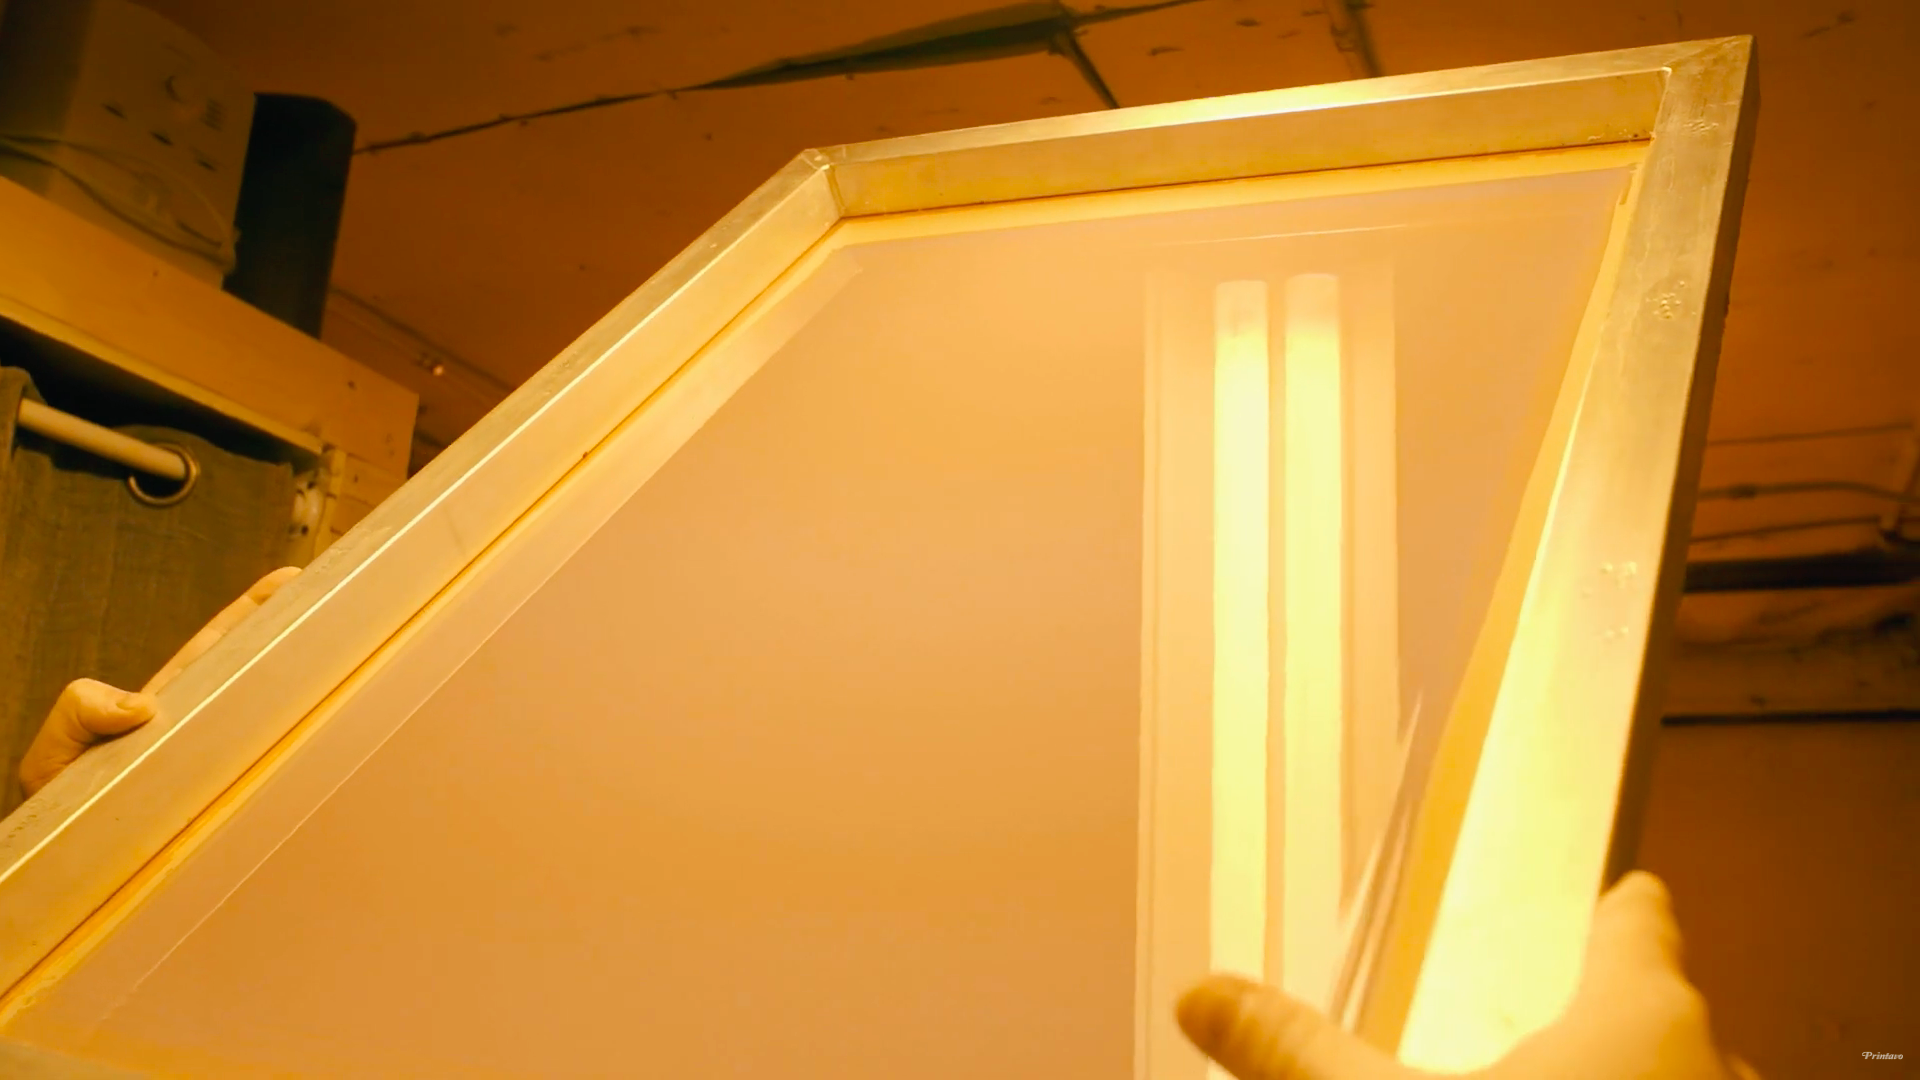
To perfect how you coat your screens, you need to control two major variables. The first is how you apply emulsion. You want to use smooth, even strokes to achieve a “glassy” finish on your emulsion.
The second variable is how you dry your screens. You’ll always want to apply emulsion to clean, dry screens. But you’ll also want to dry your freshly coated screens in a sterile environment with the correct temperature and humidity.
Watch this video to see how it’s done:
Once you can afford it, an automatic screen coater is a worthy investment. Not only does it save you time, it makes perfect emulsion application a snap.
Exposure

Applying emulsion is equal parts art and science. It takes time to perfect and skill to master.
But exposing your screens is actual science.
If you’re not using an exposure calculator to dial in your exposure times, you’re making a huge mistake!
Properly exposed screens:
- Have the most image detail
- Sharper edges and better detail are preserved with proper exposure
- Don’t break down on the press
- Emulsion eventually loses quality the longer you print. Properly exposed screens are hard enough to prevent this
- Make your screens last longer
- Emulsion protects the delicate screen mesh
Remember: always post-expose your screens. Simply setting your screens in sunlight for 10 minutes can make them much more durable.
Print variables: on the press
Once you’re printing and on press, even more variables come into play.
Everything from the temperature and humidity in your shop to the way you hold your squeegee affects print quality.
So which variables are most important, and how do you control them?
Off contact
“Off contact” is the term screen printers use to describe the distance between the screen and the garment.
Put another way, off contact is how high your screens are above whatever you’re printing on.
Off contact is easy to control (you can adjust off-contact on any good screen printing press) and a very important variable for getting high-quality prints.
Your off contact determines the quality of your ink deposit. When you have the correct off contact, the screen will deposit ink without deforming the image or disturbing the ink once it’s on the garment.
If you notice a “stucco” quality to your prints (small, raised bumps), you need to lower your off contact. If you’re having trouble getting a good print but your screens are dialed in, off contact is the first variable to investigate.
Read Mark Coudray’s column regarding off contact.
Platens
Your platens (or pallets) have a decisive and often-overlooked impact on your print quality. But there are three simple things you can do to make your prints better just by controlling your platens.
First: all platens should be level and completely free of debris and imperfections. You want a perfect, smooth, level, and clean surface. Chips, divots, warps and other problematic imperfections should not be tolerated. Regularly check platens for damage and replace them immediately.
Second: pre-heat your platens to 140 degrees Fahrenheit before you print. Do this by using your flash unit to pre-heat platens before you print. This has two benefits: it makes ink print much better and it acts like a “soft flash,” slightly hardening your ink. This makes printing much easier, particularly wet-on-wet printing.
Third: always use the correct adhesive. There are three major options for platen adhesives:
- Platen tape (pallet tape)
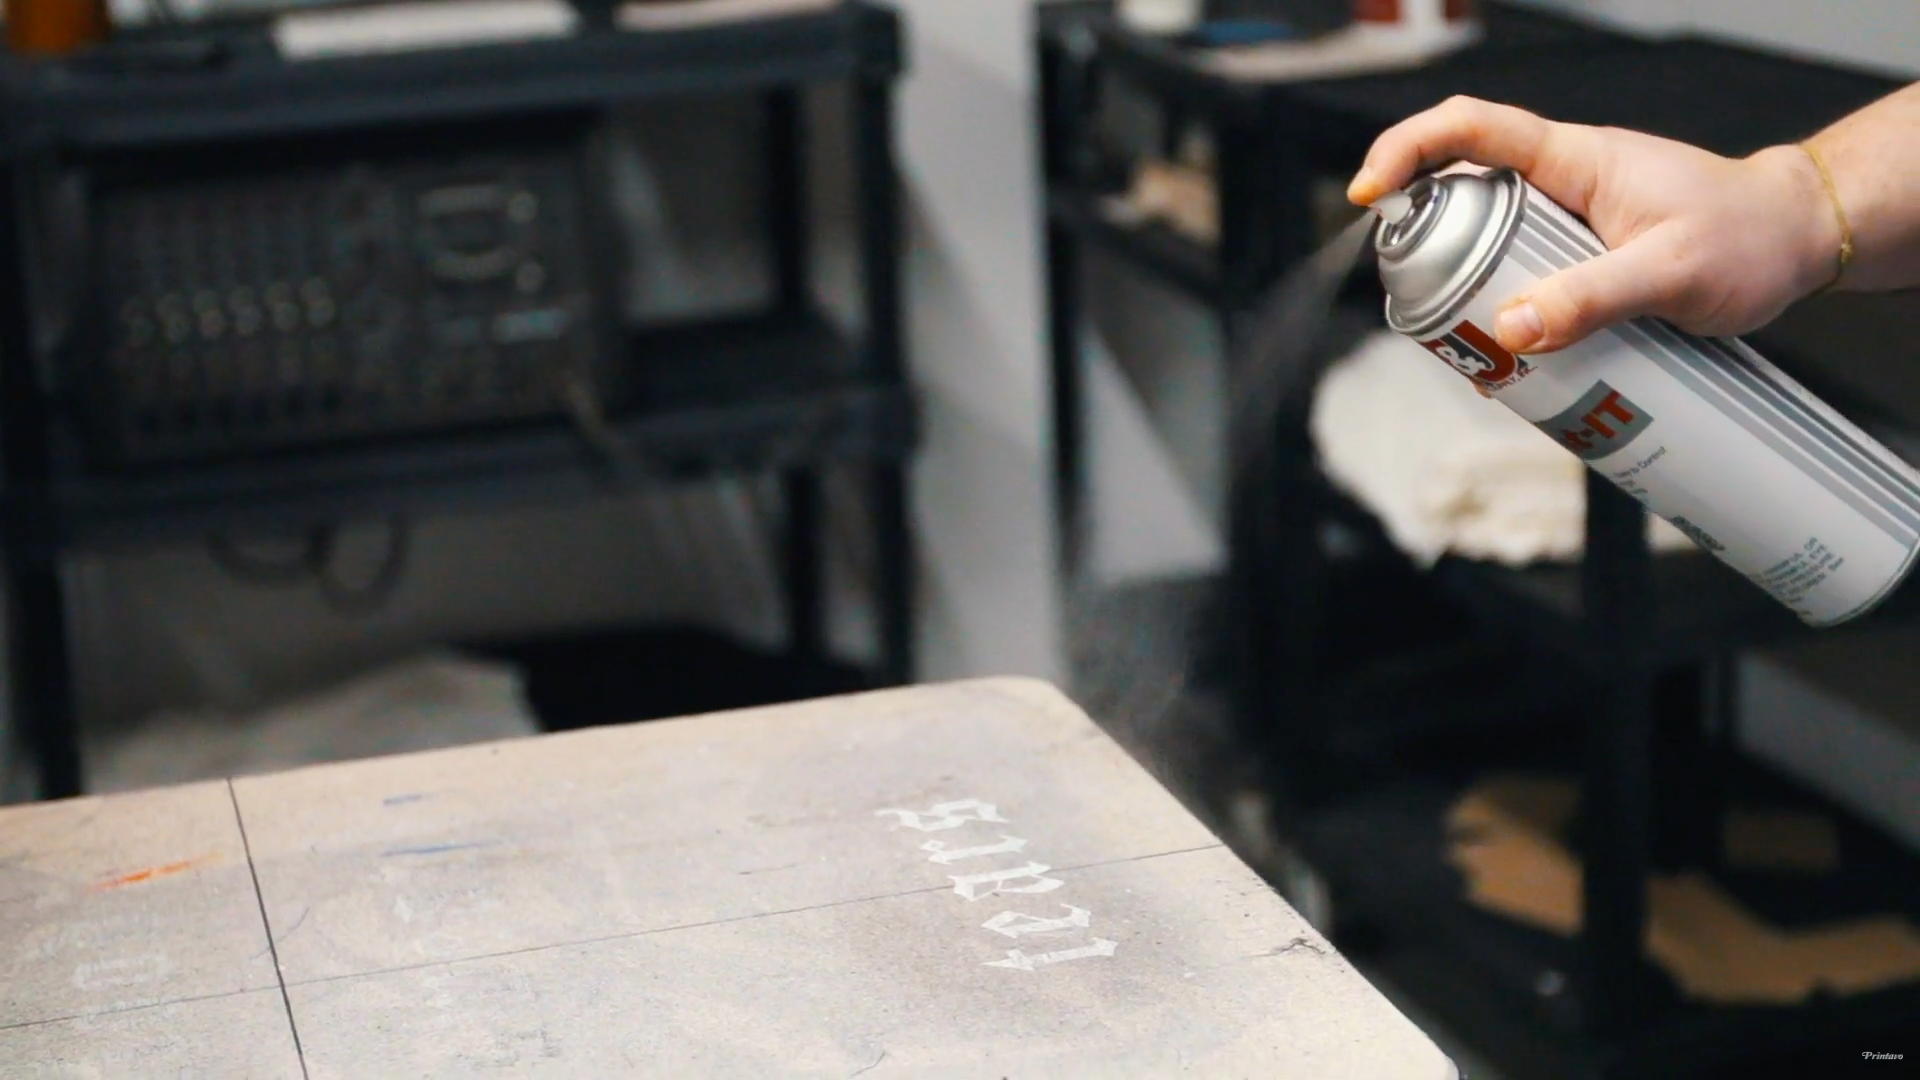
- Spray tack
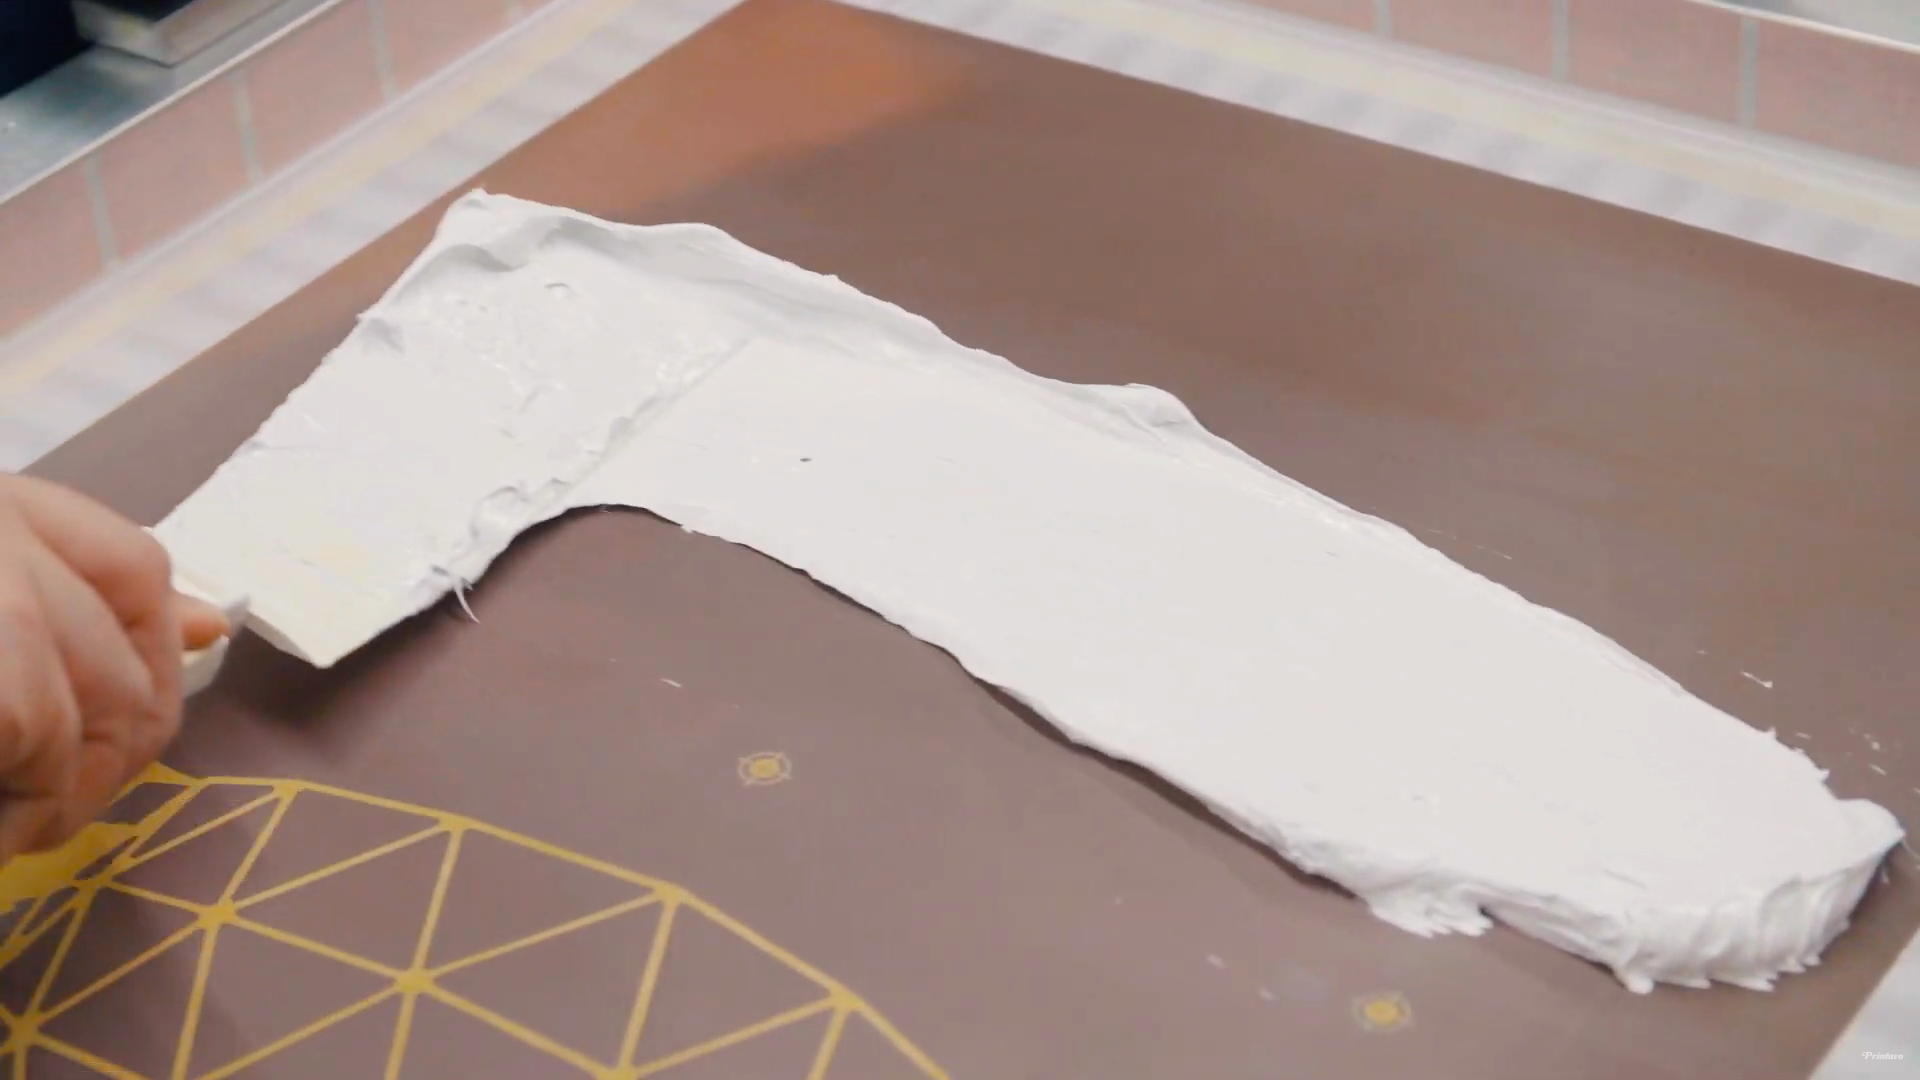
- Glue tack
Platen tape is a thick sheet of dual-sided tape. Screen printers simply stick platen tape to their platens and replace it when necessary (often every day). This can be used in tandem with other adhesives, but often is durable and strong enough to use on its own.
Spray tack is aerosolized glue that comes in spray cans. Spray tack is popular because it’s easy to use, durable, and effective. However, spray tack has downsides. It’s terrible for your lungs. It tends to make your shop very dirty, because it’s inevitable that some overspray will occur…and lint, dust, and debris sticks to spray tack very well. It’s also extremely difficult to clean, requiring further noxious solvents to fully remove.
Glue tack is similar to spray tack, but it is a liquid instead of an aerosolized spray. Screen printers spread glue tack onto the platen. Glue tack is less messy than spray tack, and many shops that it’s far more durable and cost effective.
Using the correct adhesive will make your prints better: whatever you’re printing on won’t move while you print and won’t be damaged by the adhesive.
Ink
Screen printing ink is a vast topic. There are thousands of variables when it comes to ink: what type of ink, how it’s applied, how it’s cured, and so much more.
One of the simplest variables you can control is ink viscosity. The way to control ink viscosity is to properly mix your inks each time you print. This means agitating your ink for about 3 minutes, either with a drill and stirring attachment or with a purpose-built ink mixer.
More viscous ink prints better: it leaves an even deposit, flows easily through the screen, and cures evenly.
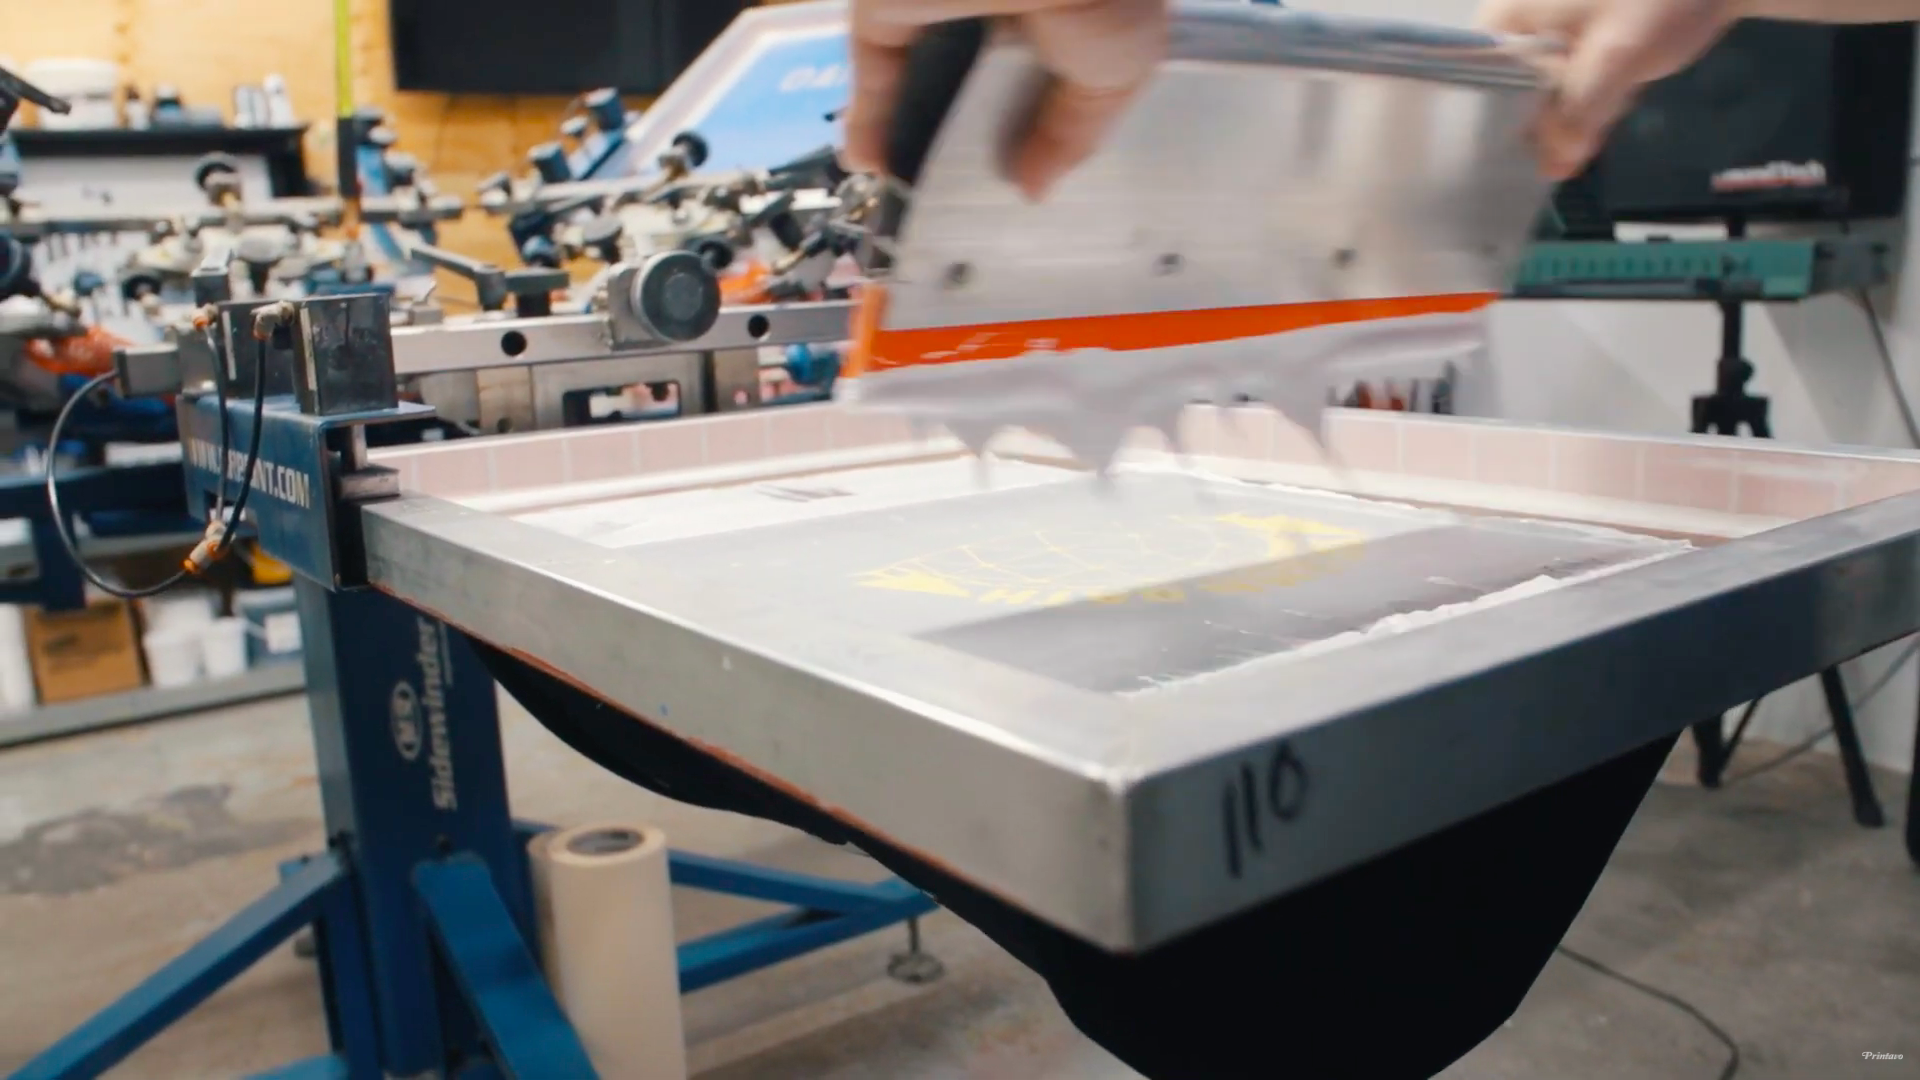
Squeegees

Your squeegees are another crucial variable. The hardness and sharpness of your squeegee determines how ink is deposited as much as your screens, emulsion, and inks.
The primary variables you can control through squeegees are:
- Durometer (hardness)
- How hard or soft your squeegee is determines how much ink is deposited
- Experiment with durometers and always keep several hardness squeegees on hand
- Angle
- Greater angles (i.e. 90 degrees) decrease stroke effectiveness
- Experiment with angles to determine ink deposit
- Print speed
- How fast or slow your squeegee moves determines how much ink is applied
- Pressure
- More pressure deposits more ink
You want consistent strokes throughout the entire run. If you’re printing manually, each print stroke will vary. On an automatic press, it’s much easier to control specific variables related to your squeegees. In both instances, you want to develop a clear sense of how squeegees affect your ink deposit.
We suggest doing several test prints with different squeegees to determine the setup you like best. For many screen printers, squeegees are an issue of personal preference.
Curing
The final variable a print shop can control is curing their ink.
Correctly cured ink can last the lifetime of the garment it’s printed on. Poorly cured ink will be destroyed quickly by normal wear-and-tear. Poorly cured ink costs screen printers thousands of dollars a year in returns and exchanges…and it’s an incredibly easy variable to control.
First, you should always wash and dry at least one piece before you ship a finished order. Why? Because poorly cured ink won’t survive a wash test. This is your first line of defense against bad curing.
Second, always do a simple stretch test on your prints. Does the ink resist stretching, or does it easily tear and reveal the fabric underneath? If it tears easily, it is not cured correctly. This does not apply to discharge inks, which actually dye the fabric itself.
Third, take your curing dryer’s temperature with two instruments. A donut probe is much more accurate than a handheld infrared thermometer for curing t-shirts. Often, the difference between a handheld thermometer and a donut probe is 20 degrees or more. That is the difference between cured and wet ink.
Finally, always follow your ink manufacturer’s instructions for curing. Water based inks have different requirements than plastisol inks. They will have a suggested dwell time and temperature for their inks. Follow it to the letter for the best results.
Conclusion
You don’t need a PhD to start understanding and controlling the variables in screen printing.
Don’t get overwhelmed. Focus on understanding how these elements affect your prints:
- Mesh count
- Screen tension
- Emulsion
- Exposure
- Off-contact
- Inks
- Adhesives
- Squeegees
- Curing
Master each of these 9 variables, and you will find that troubleshooting your screen prints is much easier.

0 Comments